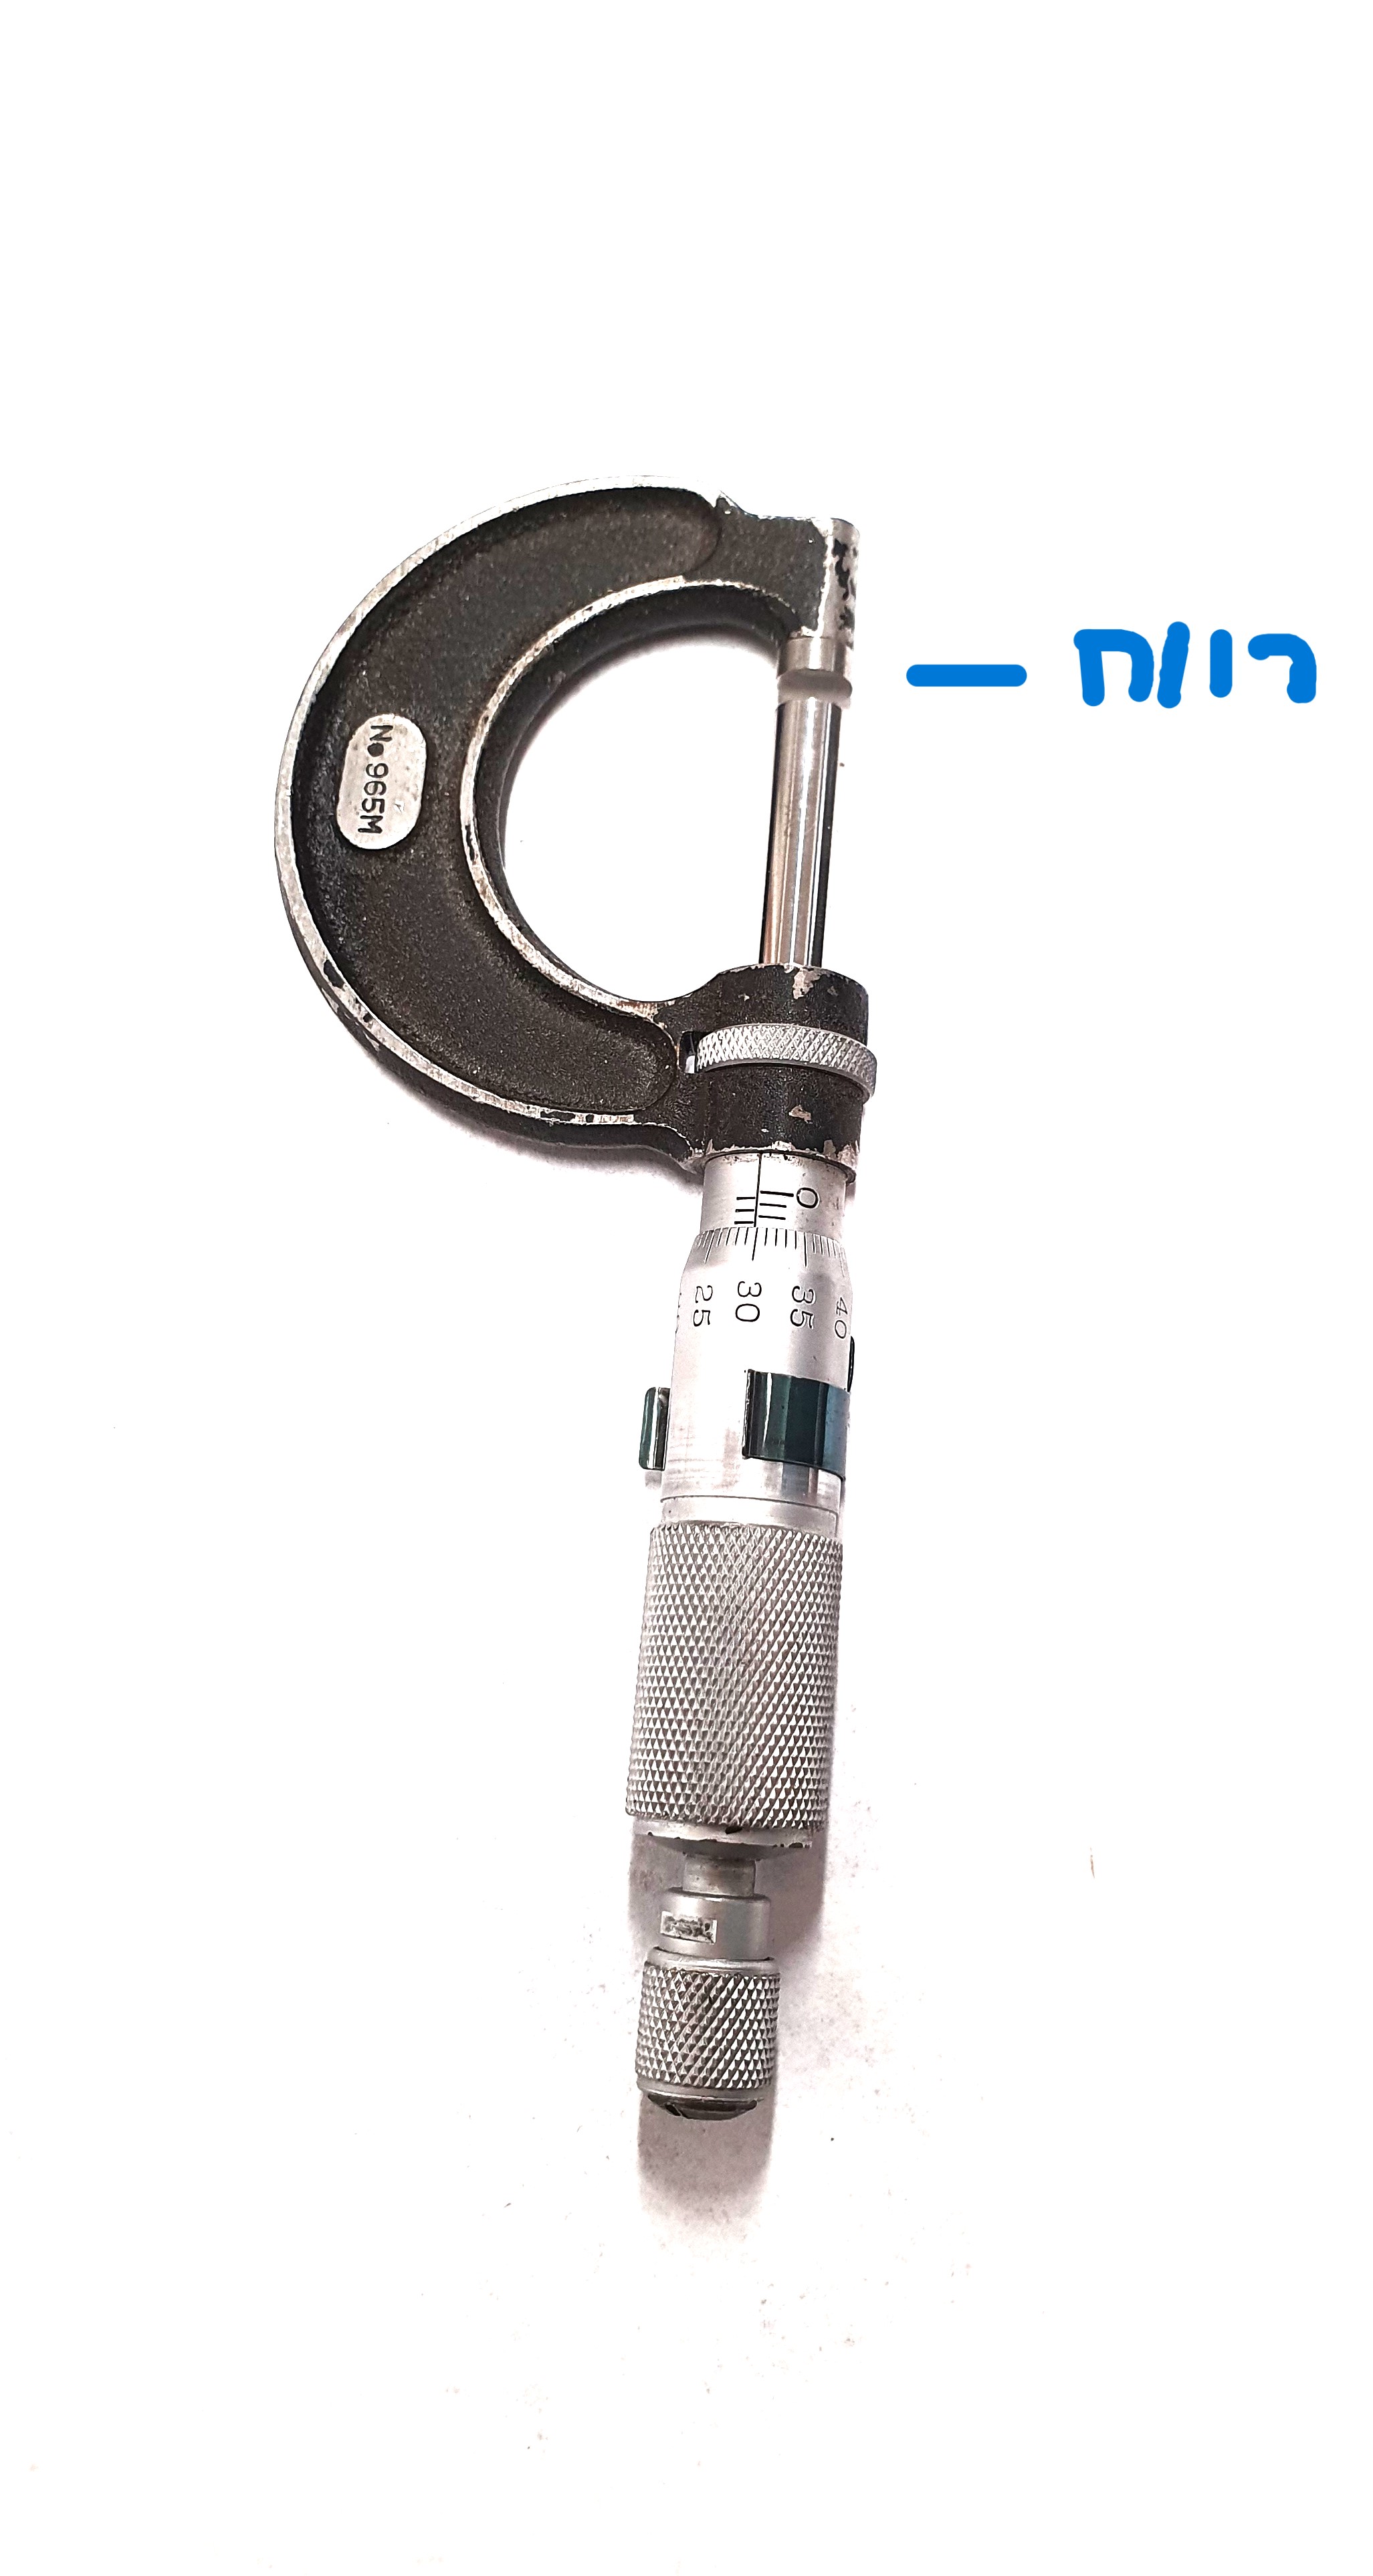
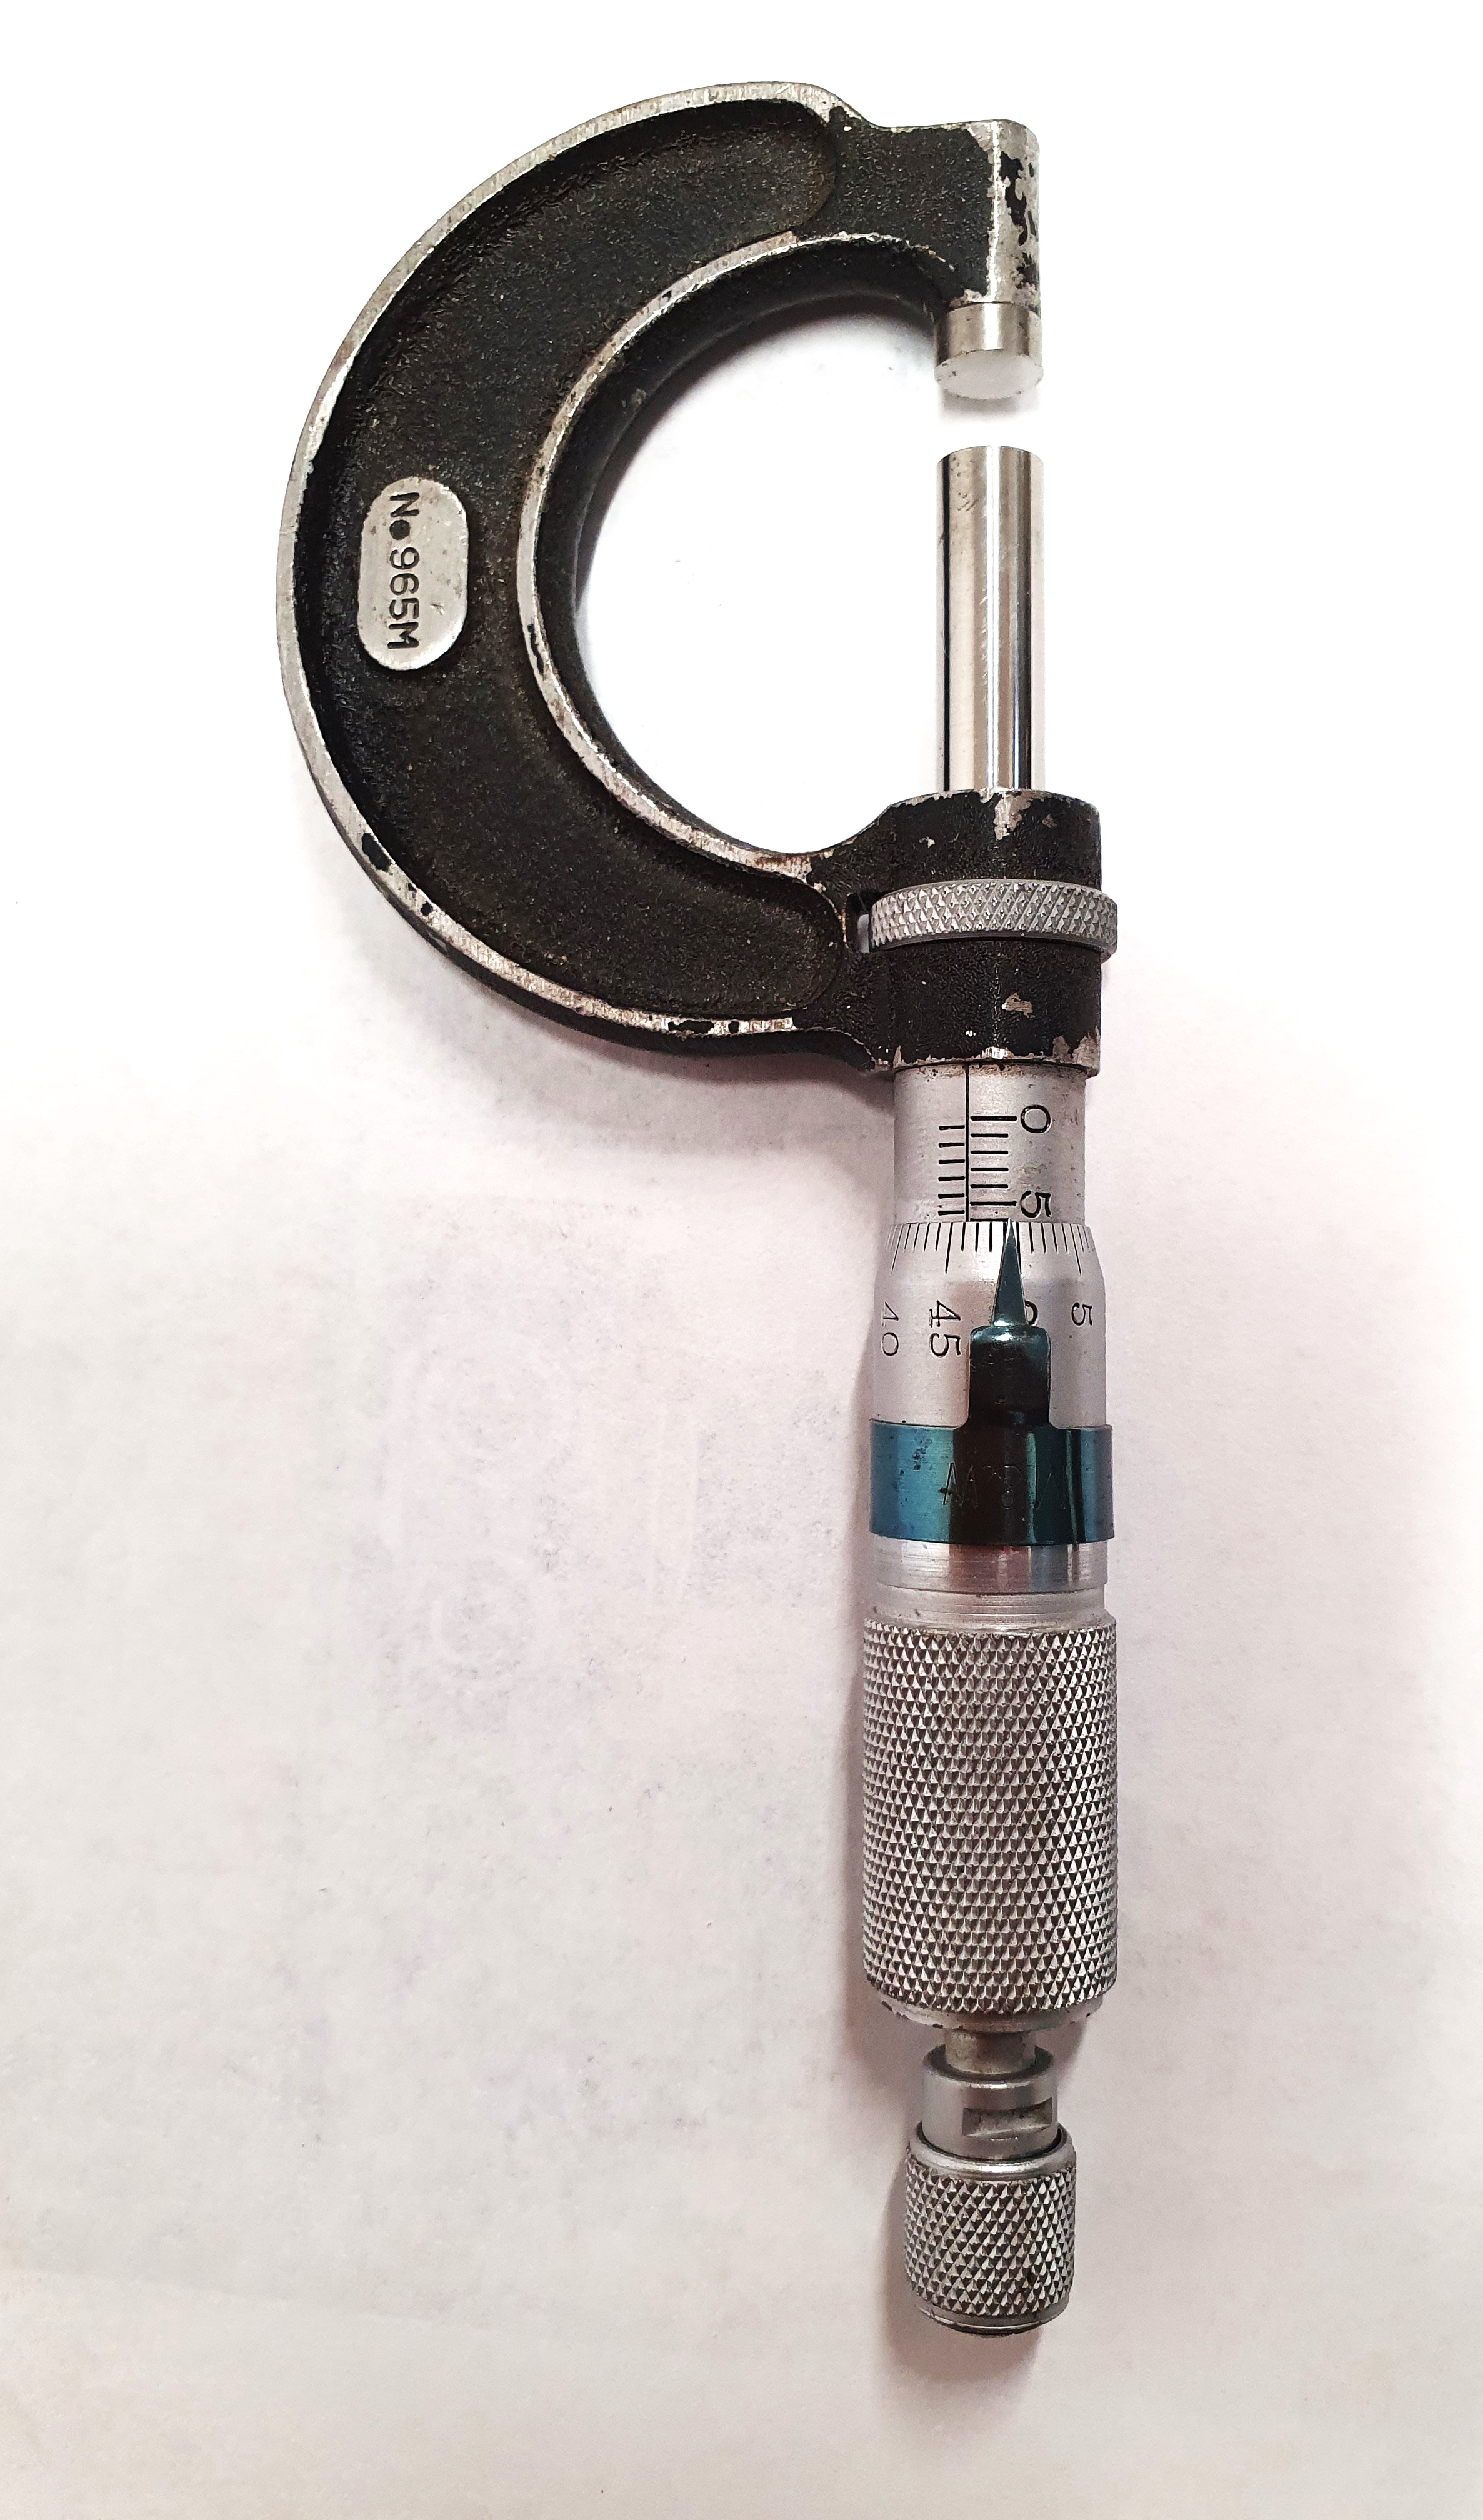
Micrometer, Moore & Wright, 965m
The Moore & Wright 965m micrometer is made of metal. Its base is a C shaped frame, with a stationary anvil at the top end and a spindle that moves in and out at the other end. The anvil serves as one fixed point for measuring objects, providing a stable and strong reference point for measurement.
A long cylindrical spindle runs through the other components, controlled by a ratchet at the lower end. Rotating the ratchet clockwise or counterclockwise allows the spindle to slide in or out, adjusting to the size of the object positioned between the anvil and the spindle. A locking ring at the bottom of the frame secures the spindle in place.
Above the spindle at the bottom of the frame, there are scales that measure the object's thickness in various units.

